


Before repairing Mercedes aluminum trim, inspect for damage, clean the area, and gather high-quality tools and supplies. For minor issues, use a dent repair kit; for severe damage, sand and prime before painting to match original finish. Maintain trim with cleaning, waxing, and prompt attention to prevent environmental damage and corrosion.
Looking to restore your Mercedes’ sleek look? DIY minor aluminum trim repairs are easier than you think. This guide covers everything from assessing damage and gathering supplies to a step-by-step visual process, ensuring precise results. Learn essential tips for long-lasting repairs and prevent future damage. With the right tools and techniques, keep your Mercedes shining brightly with minimal effort and cost.
- Assessing Damage and Gathering Supplies
- Step-by-Step Repair Process: A Visual Guide
- Tips for Long-Lasting Results and Prevention
Assessing Damage and Gathering Supplies

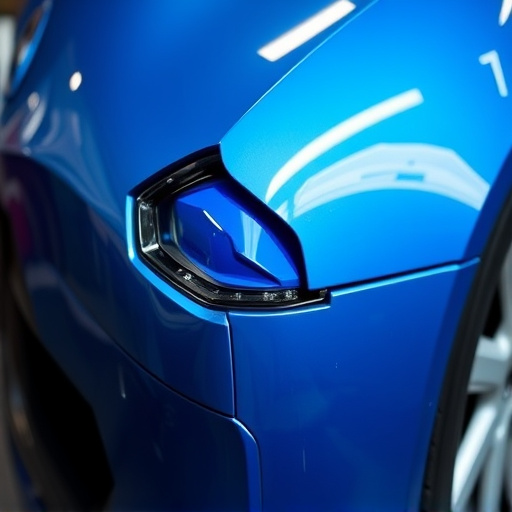
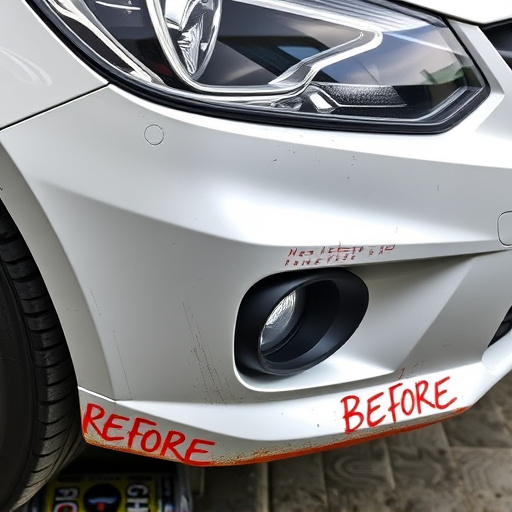
Before diving into any Mercedes aluminum trim repair, it’s crucial to assess the extent of the damage. Start by inspecting the affected area closely, taking note of cracks, dents, or peeling. These visual cues will guide your approach to the fix. For minor repairs, a thorough cleaning of the damaged section is essential; remove any dirt or debris that might complicate the process. This step ensures a clean canvas for your restoration efforts.
Gathering the right supplies is the next critical phase. Depending on the damage, you may need tools like a hammer, putty knife, sandpaper (various grits), body filler, primer, and paint matching your Mercedes’ original finish. Online tutorials or advice from professional vehicle repair services can guide you in sourcing the best products for the job. Remember that proper preparation is key to achieving a seamless repair, so don’t skimp on quality materials—especially when dealing with collision damage repair on aluminum trim. Even if you’re handling tire services yourself, ensuring your tools and supplies are up to par will make the difference between an amateurish fix and a professional-grade restoration.
Step-by-Step Repair Process: A Visual Guide

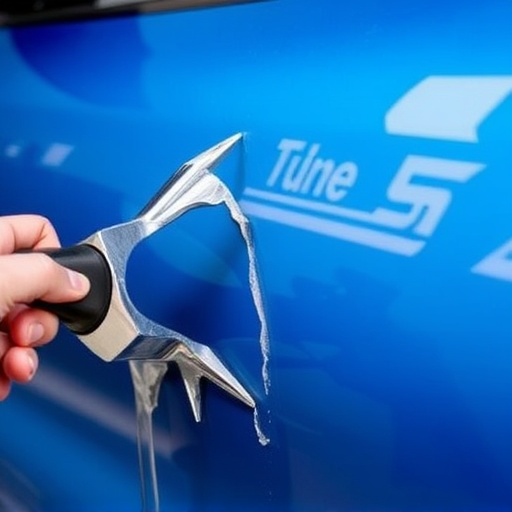
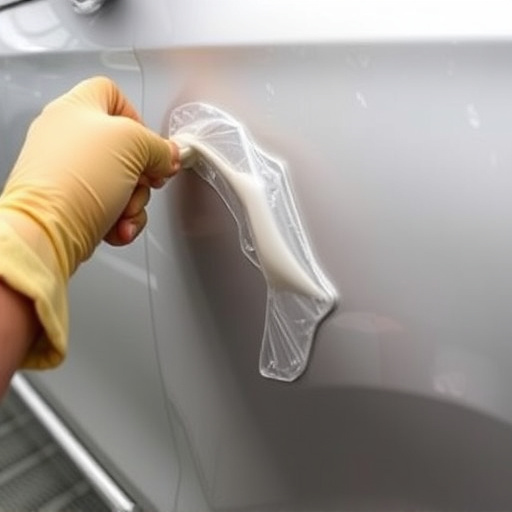
When it comes to repairing minor damage to your Mercedes aluminum trim, a step-by-step visual guide can make the process easier and more effective. Begin by inspecting the damaged area thoroughly, identifying any dents, scratches, or pitting. For smaller dents, use a dent repair kit designed for aluminum, which typically includes a suction cup tool and filling compound. Apply the compound, following the manufacturer’s instructions, and gently press the suction cup over the dent. Once set, carefully pop out the plug to smooth out the area.
For more severe damage, such as deep scratches or pitting, you may need to sand the surface with progressively finer grits of sandpaper to create a smooth base. This is a crucial step before applying auto painting to ensure a seamless finish. After sanding, wipe down the area with a damp cloth and let it dry completely. Prime the aluminum trim with an appropriate primer designed for exterior use to prepare it for painting. Lastly, use high-quality car scratch repair paint to fill in any remaining imperfections, matching the original Mercedes finish as closely as possible.
Tips for Long-Lasting Results and Prevention

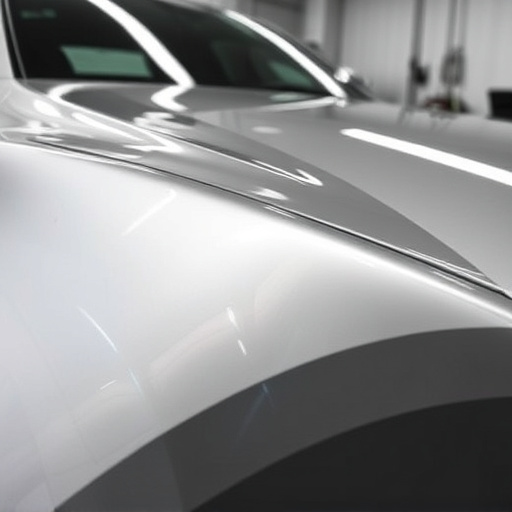
To achieve long-lasting results with Mercedes aluminum trim repairs, it’s essential to approach the process methodically. Begin by thoroughly cleaning and inspecting the damaged area, removing any dirt or debris that could interfere with bonding. Use specialized cleaners and brushes designed for aluminum to ensure a pristine surface. Before applying any repair materials, consider using tape or barriers to protect adjacent, unharmed trim pieces from potential exposure to chemicals or debris during the repair process.
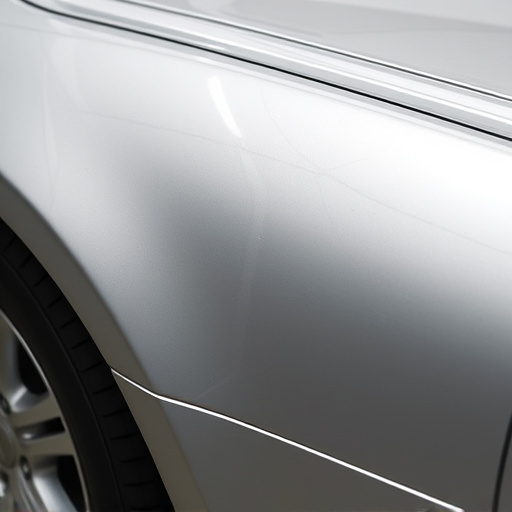
Prevention is key in maintaining the integrity of your Mercedes’ aluminum trim. Regular washing and waxing not only enhance the exterior’s aesthetics but also create a protective barrier against environmental elements like salt, acid rain, and UV rays, which can contribute to corrosion and damage. Additionally, ensuring prompt attention to minor dents or scratches through DIY dent removal techniques or utilizing collision repair services can forestall more extensive repairs down the line.
Repairing your Mercedes’ aluminum trim doesn’t have to be a daunting task. By following these DIY tips and a simple, step-by-step process, you can achieve long-lasting results that preserve your vehicle’s aesthetic appeal. Remember, a bit of care and the right supplies can go a long way in keeping your Mercedes looking its best, ensuring a seamless repair experience for minor aluminum trim damage.