


Mercedes aluminum trim repair involves assessing damage, using specialized tools and high-quality materials for restoration, following a four-step process of cleaning, sanding, priming, and painting to ensure seamless match with original finish, addressing both visual appeal and structural integrity.
“Mercedes aluminum trim repair is a common concern among owners, as oxidation and corrosion can mar the vehicle’s sleek aesthetic. This comprehensive guide tackles the issue head-on, offering a detailed look at understanding and repairing damaged Mercedes aluminum trim. From identifying the problem to selecting the right tools and materials, you’ll learn effective steps for restoration. By following this step-by-step approach, you can restore your Mercedes’ original shine and protect against future damage.”
- Understanding Mercedes Aluminum Trim Damage
- Tools and Materials for Repair
- Step-by-Step Guide to Effective Restoration
Understanding Mercedes Aluminum Trim Damage
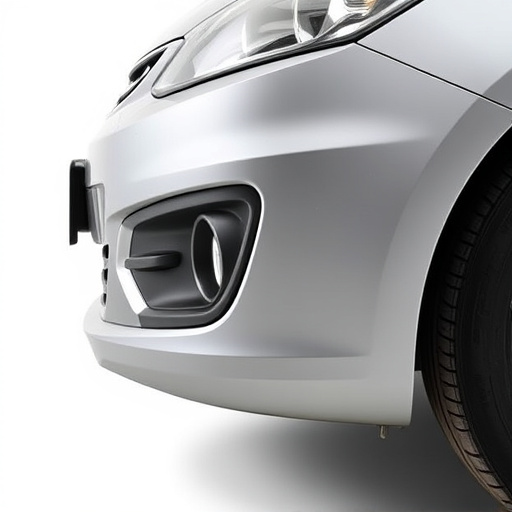
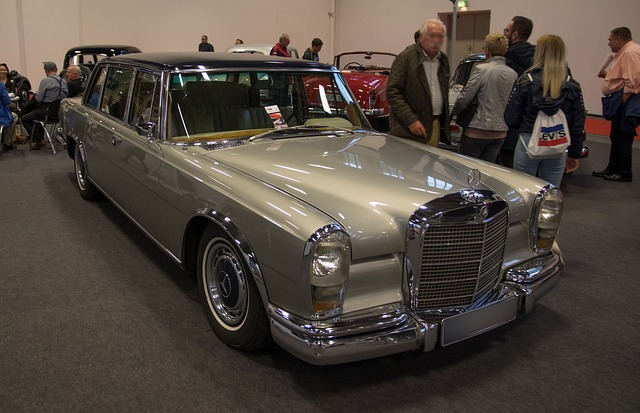
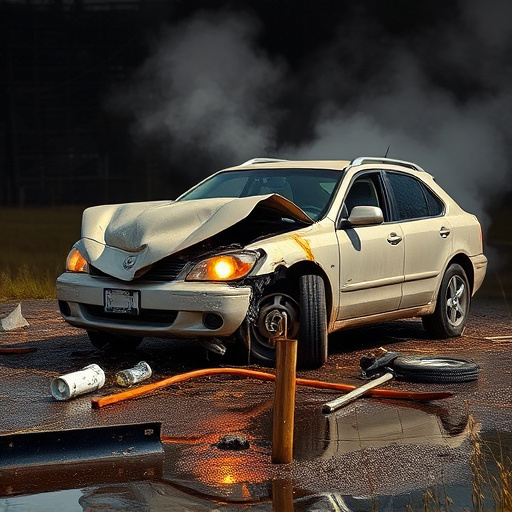
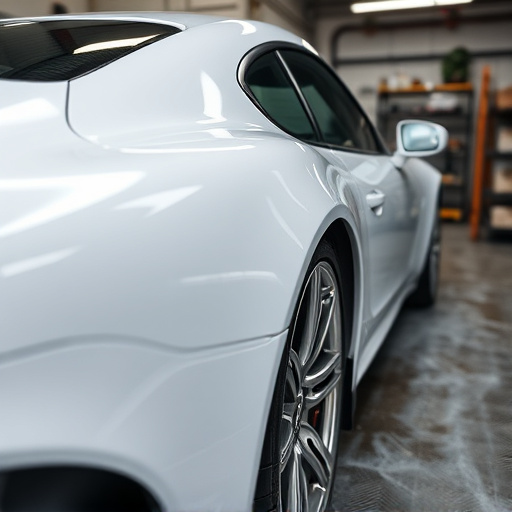
Mercedes aluminum trim is renowned for its sleek, modern aesthetic, but over time, it can succumb to damage from oxidation and corrosion. This isn’t just an issue for new cars; even classic car restoration projects can face challenges with this material. Signs of wear and tear may include discolored areas, pitting, or flaking paint, often exacerbated by exposure to harsh weather conditions or a fender bender.
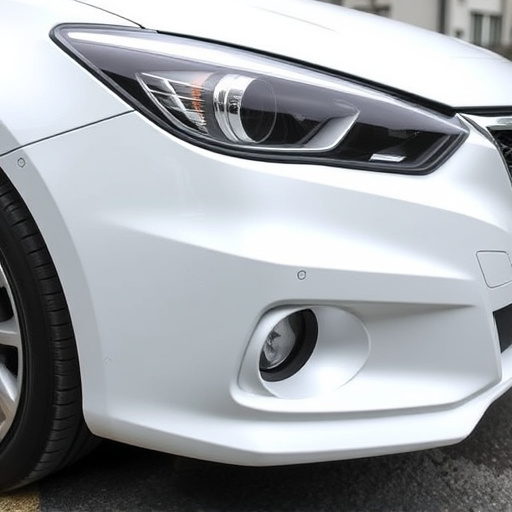
Proper Mercedes aluminum trim repair is crucial to restoring both the vehicle’s appearance and its structural integrity. It involves careful assessment, surface preparation, and the application of specialized products designed to match the original finish seamlessly. Understanding the extent of the damage is key; minor issues can often be treated with simple techniques like sanding and re-coating, while more severe cases may necessitate replacement parts or more extensive car paint repair procedures.
Tools and Materials for Repair
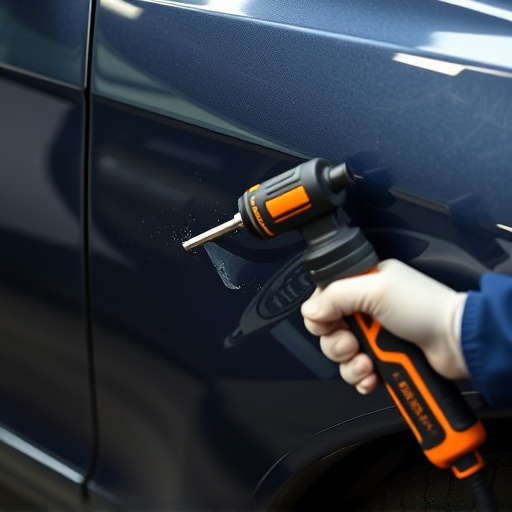
For successful Mercedes aluminum trim repair, the right tools and materials are essential. This includes a variety of specialty tools designed for precise work on automotive components, such as wire brushes, sandpaper in various grits (from coarse to fine), and isopropyl alcohol for cleaning. Additionally, you’ll need high-quality aluminum repair putty or filler, clear coat paint that matches the vehicle’s original finish, and possibly a heat gun for curing the paint. The goal is to achieve a seamless, durable repair that blends in with the rest of the luxury vehicle’s exterior, reflecting the standards set by its manufacturer.
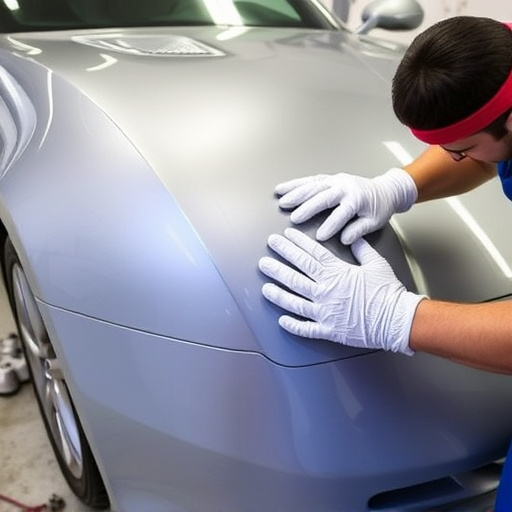
Automotive repair professionals often prefer products specifically formulated for vehicle restoration projects, as these ensure superior adhesion and long-lasting results. When conducting Mercedes aluminum trim repair, it’s crucial to follow safety protocols, including wearing protective gear like gloves and a respirator, especially when handling chemicals. This not only ensures the effectiveness of the repair but also protects both the technician and the environment from potential hazards associated with certain materials and solvents.
Step-by-Step Guide to Effective Restoration

Restoring Mercedes aluminum trim affected by oxidation or corrosion involves a meticulous process that can bring your vehicle’s interior back to its pristine condition. Here’s a step-by-step guide to effective restoration:
1. Preparation: Begin by thoroughly cleaning the damaged area using a mild detergent and a soft cloth to remove any dirt, grease, or existing debris. Ensure the surface is dry before proceeding. Put on protective gloves and goggles to shield yourself from chemicals.
2. Sand and etch: Using fine-grit sandpaper, gently sand the oxidized or corroded trim until the surface becomes smooth. This process helps remove the damaged top layer, exposing the underlying metal. For better results, apply an etching solution according to the manufacturer’s instructions. This step is crucial as it prepares the aluminum for the next phase, enhancing adhesion.
3. Apply primer: After sanding, use a high-quality automotive aluminum primer to coat the repaired area. Allow the primer to dry completely, ensuring it fills in any pinholes or imperfections. Priming creates a fresh surface that will accept the subsequent topcoat effectively.
4. Paint and clear coat: Select an aluminum-specific paint designed for auto body repairs, matching your vehicle’s original color as closely as possible. Apply thin, even coats, allowing each layer to dry before adding the next. Once the base color is dry, apply a clear coat to protect the paint job and restore the trim’s glossy finish.
Mercedes aluminum trim repair is a feasible DIY project for car enthusiasts looking to restore their vehicle’s aesthetic. By understanding the common damage, gathering the right tools and materials, and following a systematic approach, you can effectively combat oxidation and corrosion on your Mercedes’ aluminum trim. This article has provided a comprehensive guide, equipping you with the knowledge to achieve a professional-looking repair and preserve your car’s timeless beauty.