


Mercedes aluminum trim repair addresses aesthetic and value issues caused by damage from accidents or wear. Skilled technicians use specialized tools, techniques (e.g., sandblasting, auto painting) for precise restoration. Essential tools and materials include screwdrivers, plastic hammers, pliers, aluminum tape, adhesives, filler compounds, and Mercedes-specific touch-up paint. A meticulous process involving cleaning, sanding, polishing, and painting ensures professional, long-lasting results that match the vehicle's high standards.
Discover how to restore your Mercedes’ interior with this comprehensive guide to aluminum trim repair. Learn to identify common damage, from dings and dents to scuffs and scratches, affecting console and dash areas. Armed with the right tools and materials, you’ll master a step-by-step restoration process, ensuring a seamless, factory-like finish for your vehicle. Revive your Mercedes’ sleek aesthetic with expert tips on Mercedes aluminum trim repair.
- Understanding Mercedes Aluminum Trim Damage
- Tools and Materials for Repair
- Step-by-Step Guide to Console and Dash Restoration
Understanding Mercedes Aluminum Trim Damage

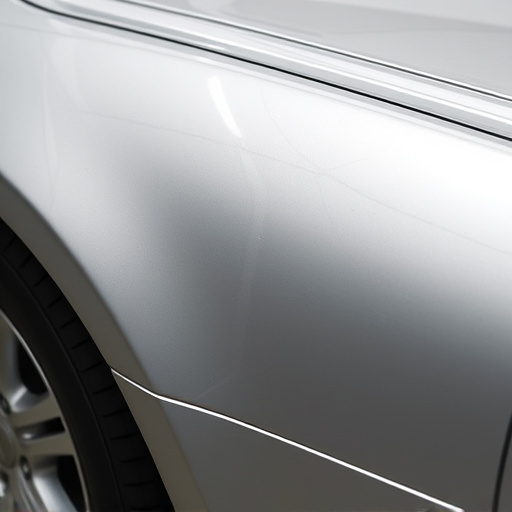
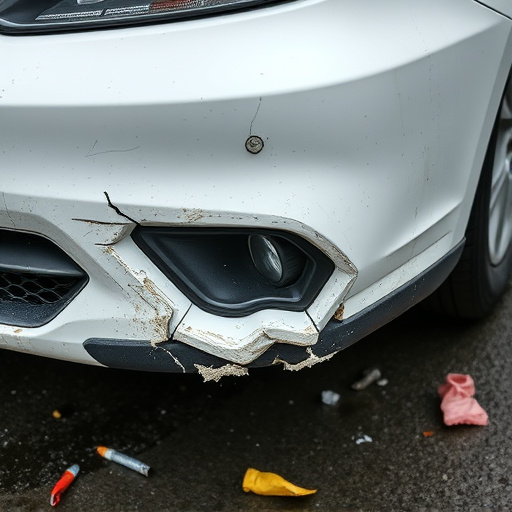
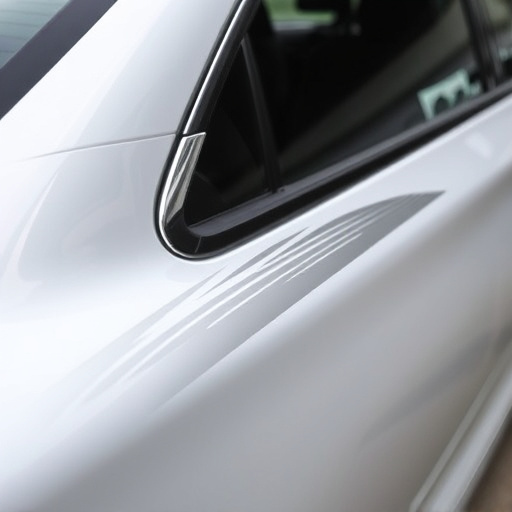
Mercedes aluminum trim damage can occur due to various reasons, often making it a common issue for vehicle owners. Dents, scratches, and cracks are some of the most visible signs that can detract from the sleek and modern aesthetic of Mercedes interiors. These issues typically arise from minor accidents, such as parking bumps or fender benders, or from everyday wear and tear.
Proper Mercedes aluminum trim repair is essential to maintaining the vehicle’s value and appearance. Unlike plastic or wood, aluminum requires a specialized approach for repairs due to its unique properties. Skilled technicians use techniques like sandblasting, primer application, and precision auto painting to restore damaged areas to their original condition. Vehicle repair services that specialize in Mercedes aluminum trim repair ensure a seamless fit and a finish that matches the vehicle’s high-quality standards.
Tools and Materials for Repair

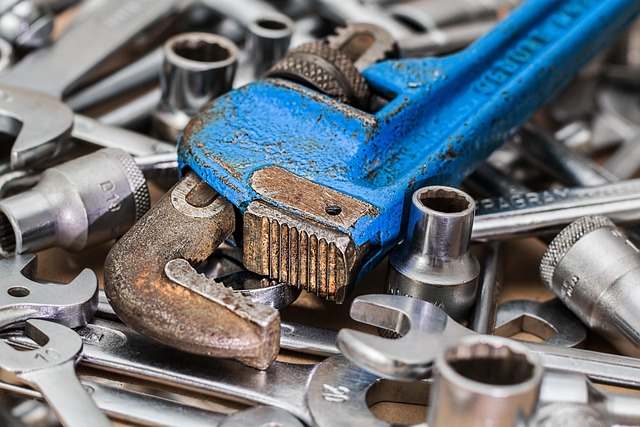
For a successful Mercedes aluminum trim repair, especially for console and dash areas, the right tools and materials are essential. You’ll need a variety of items to ensure precision and durability in the repair process. Basic tools include a set of screwdrivers (both flathead and Phillips), a plastic hammer, and various sizes of pliers. These tools allow for safe removal and replacement of damaged trim pieces without causing further damage to the surrounding surfaces.
When it comes to materials, a good quality aluminum tape is a must-have. This specialized tape adheres strongly to metal and can be cut to the exact size needed for repairs. Additionally, a container of automotive-grade adhesive suitable for aluminum is necessary. These adhesives provide strong bonds that withstand everyday wear and tear. Other essential materials include filler compounds designed for aluminum repair, as well as clear or matching coat paints to blend seamlessly with the vehicle’s interior finish. Remember, proper preparation and using high-quality components are key to achieving a professional Mercedes aluminum trim repair, ensuring longevity and preserving the car’s aesthetic appeal, much like meticulous automotive body work on a fender repair or car dent repair.
Step-by-Step Guide to Console and Dash Restoration

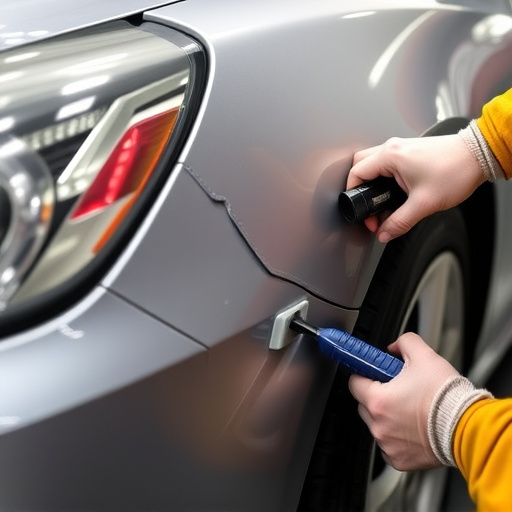
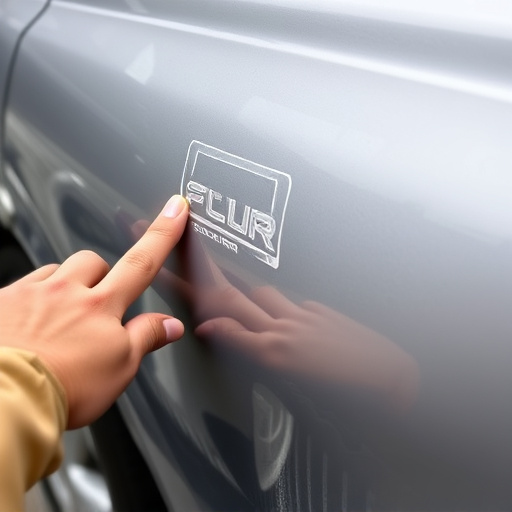
Restoring Mercedes aluminum trim in the console and dash areas involves a meticulous process that can bring your vehicle’s interior back to its original splendor. Begin by gathering the necessary tools, including specialized cleaner, sandpaper (various grits), a fine-grit polisher, and high-quality Mercedes-specific touch-up paint and applicators. Next, thoroughly clean the damaged area with a dedicated aluminum cleaner to remove any dirt, oils, or existing repair compounds. This crucial step ensures your new repairs adhere properly.
Once cleaned, gently sand the surface using progressively finer grits of sandpaper, working in small sections at a time. This removes any remaining contaminants and prepares the metal for painting. After sanding, use a fine-grit polisher to smooth out any scratches or imperfections, creating a seamless base for your Mercedes aluminum trim repair. Finally, apply the touch-up paint using the provided applicators, matching the color precisely to your vehicle’s interior. A patient approach is key; allow each layer to dry completely before adding another, ensuring a long-lasting, professional repair that blends seamlessly with your car’s restoration (or fender repair, as needed).
Mercedes aluminum trim repair is a specialized process that can restore the pristine condition of your vehicle’s console and dash areas. By understanding the common types of damage and gathering the right tools and materials, you can effectively navigate the step-by-step guide to achieve professional results. This DIY approach not only saves costs but also ensures your Mercedes retains its elegant and luxurious appearance. Remember, proper care and timely repair can significantly prolong the lifespan of your vehicle’s aluminum trim.