


TL;DR:
Repairs to Mercedes aluminum trim require meticulous assessment and preparation. This includes inspecting visible and hidden surfaces for damage, taking high-res photos as reference, and thoroughly cleaning the area to remove grease. Proper surface prep is crucial for long-lasting repairs, ensuring seamless integration with the vehicle's quality. Early detection of issues like scratches, deformities, corrosion, and rust is key, guiding selection of suitable repair techniques from polishing to replacement. A clean, grease-free surface guarantees optimal bonding of repair materials, resulting in durable, aesthetically pleasing Mercedes aluminum trim repairs.
Discover the ultimate guide to achieving seamless Mercedes aluminum trim repairs with best practices that ensure your vehicle’s interior looks as good as new. From assessing damage and preparing the surface, to selecting the right materials and techniques, and finally expert application, this comprehensive article covers every step. Learn how to inspect for issues like dents or corrosion, choose high-quality matching aluminum, understand repair methods including soldering, welding, and bonding, and achieve a flawless finish that blends seamlessly with your Mercedes’ original trim.
- Assessing Damage and Preparing the Surface
- – Inspecting the aluminum trim for damage, dents, or corrosion
- – Cleaning and degreasing the area to ensure a clean repair surface
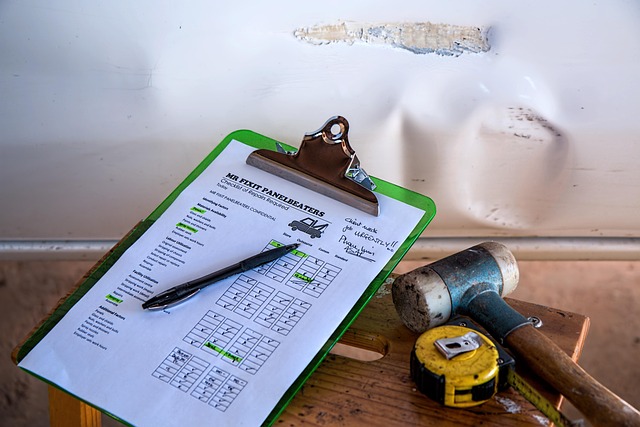
Assessing Damage and Preparing the Surface

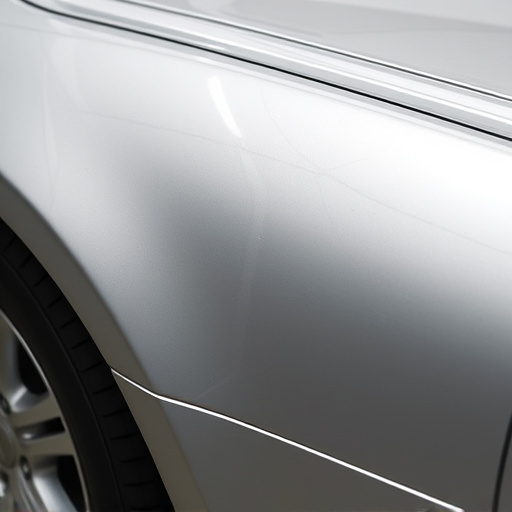
When it comes to Mercedes aluminum trim repairs, a thorough assessment of the damage is the first step towards a seamless finish. Before beginning any restoration work, carefully inspect the affected area for cracks, dents, or scratches. This involves closely examining both the visible and hidden surfaces, as even minor imperfections can impact the overall appearance once repaired. Taking high-resolution photos during this phase serves as a valuable reference guide throughout the repair process.
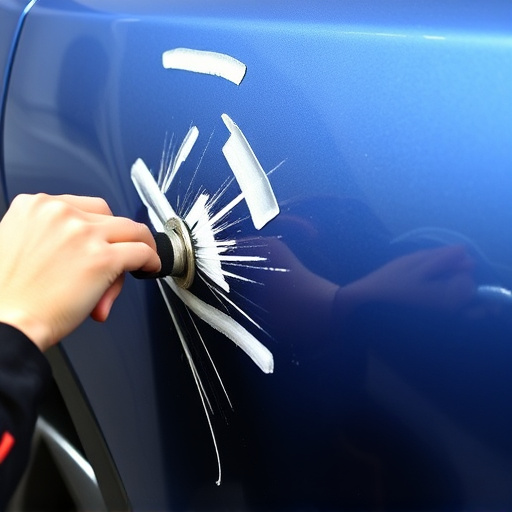
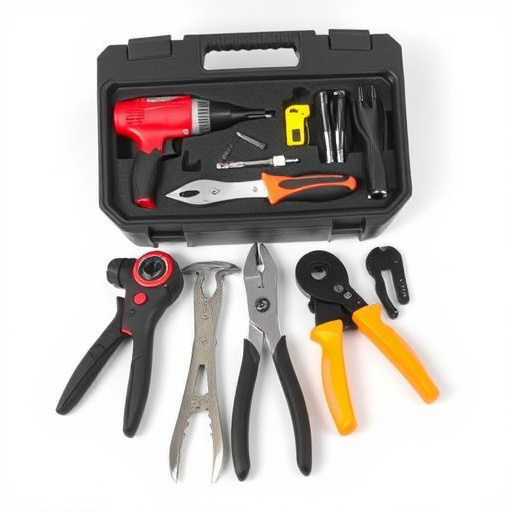
Proper preparation of the surface is crucial for achieving long-lasting results in Mercedes aluminum trim repair. After cleaning the area to remove dirt, grease, or debris, use specialized tools to gently remove any remaining damage, such as dents or scratches. This might involve sandblasting or using precision cutting tools for more intricate repairs. Ensuring a clean, smooth surface is fundamental to creating a strong bond between the repair material and the original trim, resulting in a flawless integration that matches the vehicle’s overall quality—a key aspect of successful collision repair services for vehicle restoration.
– Inspecting the aluminum trim for damage, dents, or corrosion
Before initiating any Mercedes aluminum trim repair, a thorough inspection is paramount. This involves closely examining the trim for any signs of damage, dents, or corrosion. Such defects could range from minor scratches and nicks to more substantial deformities that require professional attention. During this process, pay special attention to tight corners, edges, and hidden crevices where damage might be concealed. Early detection of these issues is crucial as it determines the extent of repair needed, ensuring a seamless restoration.
Corrosion, in particular, is an area of concern for aluminum trim. It can weaken structural integrity and lead to further damage. Therefore, checking for rust or signs of oxidation is essential, especially in areas prone to moisture or environmental exposure. A meticulous inspection not only helps in identifying these issues but also guides the selection of appropriate repair techniques and materials, be it a simple polish and coating or more complex replacement processes akin to car collision repair or vehicle restoration efforts.
– Cleaning and degreasing the area to ensure a clean repair surface

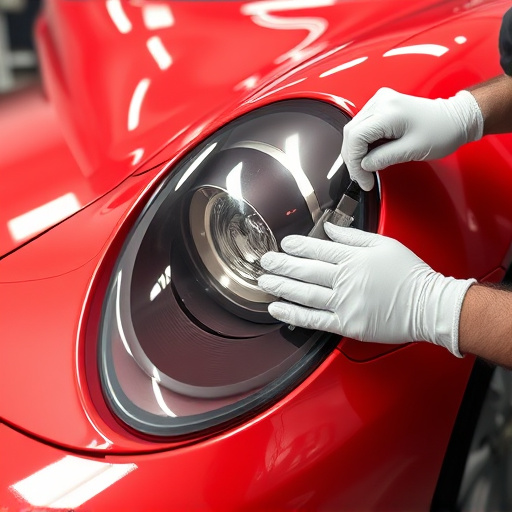
Before initiating any Mercedes aluminum trim repair, it’s imperative to start with a clean and grease-free surface. This step is crucial for achieving a seamless finish that matches the vehicle’s original specifications. The process begins by thoroughly cleaning the damaged area using specialized cleaners designed for automotive applications. These cleaners effectively remove dirt, dust, and grime without causing any harm to the aluminum trim. Once cleaned, degreasing agents are applied to eliminate any residual oils or fats that could impede the bonding process of repair materials.
A collision repair shop equipped with state-of-the-art tools and expertise is best suited for this critical preparation stage. Proper cleaning and degreasing ensure that the repair materials—be it auto painting or specialized aluminum restoration products—adhere optimally to the surface, leading to a more durable and aesthetically pleasing Mercedes aluminum trim repair.
When it comes to Mercedes aluminum trim repair, proper preparation is key. By meticulously assessing any damage, dents, or corrosion and ensuring a clean, degreased surface, you lay the foundation for a seamless and lasting repair. These best practices guarantee that your Mercedes’ interior retains its sleek, luxurious appearance, showcasing expert craftsmanship and meticulous attention to detail.